

A first look at Find, Fix & Strike
Suffering a little from the New Year's blues, having spent the festive season gorging myself on mince pies, brandy and dumb computer games, I needed something more nourishing for my brain, but not too taxing. I decided to give David Manley's WW2 rules Find, Fix and Strike a try. (I believe the correct acronym is FF&S, but I'll be using FFS instead as it's easier to type and appeals to my childish sense of humour). When FFS came out nearly a year ago I'd just forked out on General Quarters 3 and so wasn't in the mood for another set of rules. A year on and although GQ3 is brilliant, it's always nice to have a simpler system to hand, especially one with almost no record keeping and just a handful of markers.Being already familiar with David's DBA-based naval rules meant these were incredibly easy to learn - a quick scan read and I dove straight in. The game's scale is 1"=1000 yards, so pretty zoomed out. A 6'x4' table represents an area of 36 x 24 miles. For comparison GQ3's default scale for 1/2400 and 1/3000 is 1cm=100yards or about 4"=1000 yards. No time scale is specified but as a 30kt ship does 6" a turn I think it's safe to assume it's about 6 minutes.
The only WW2-suitable models I have are US and Japanese 1930s fleets in 1/6000, or the 4 ships at River Plate in 1/2400, so I decided to get the bigger ones out. Now I know we live in a post-Cruel Seas world, but the bathtubbing effect of using 1/2400 ships at this scale was a bit much for me to be honest. If you're thinking of using 1/2400 models with these rules and you have an 8'x6' table, you might want to consider doubling the distances. Nevertheless it was nice to get these ships on the table and use them without having to crawl around on the floor. It's not often they see the light of day.
I won't bother explaining the background to this battle. If you're reading this the chances are you're already familiar with it, but in case you're not the Wikipedia article does a better job than I would.
The Ships
Ignore the hex grid in these photos, it has no effect on play. |
| Graf Spee - Large heavy cruiser with 11" guns |
 | |
| Exeter - Heavy cruiser with 8" guns |
 |
| Ajax & Achilles - Light cruisers with 6" guns |
Turn 1
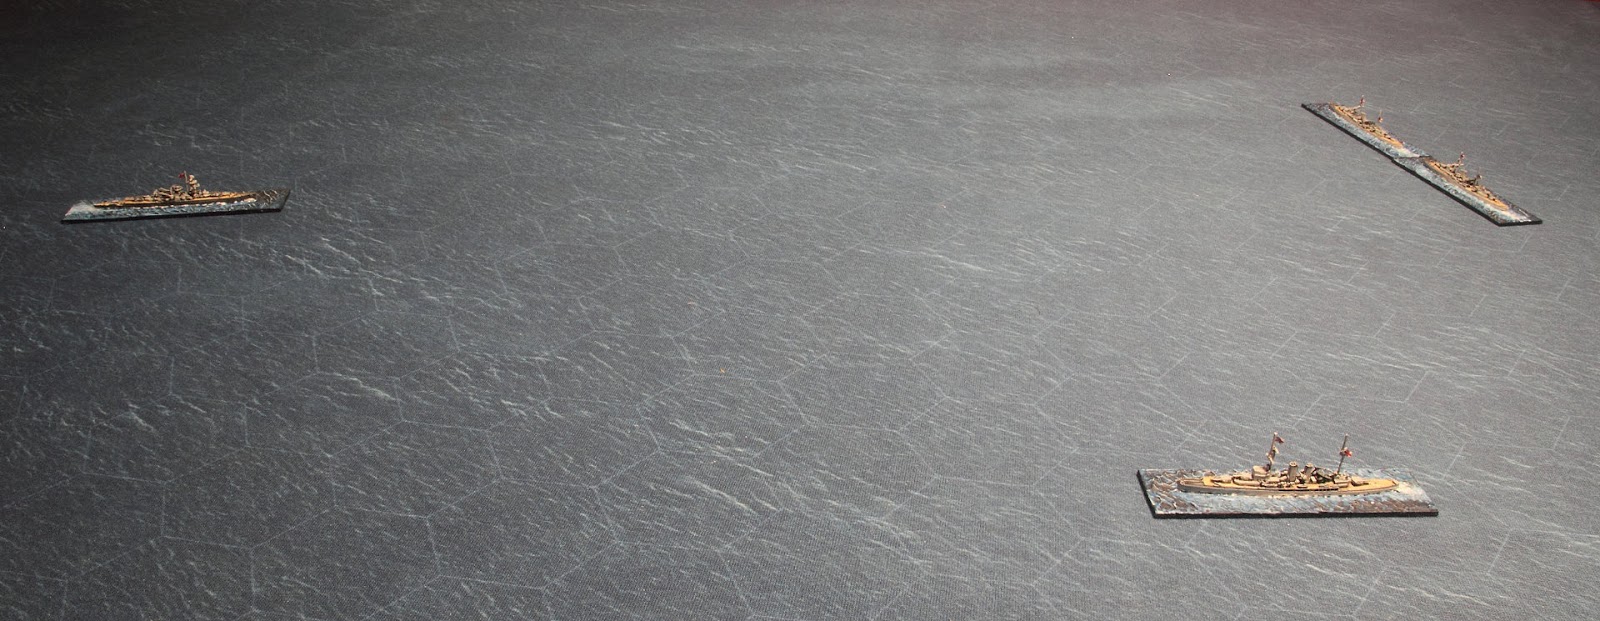 |
| Graf Spee, left. Exeter, bottom right. Ajax & Achilles, top right. |
 |
| Ajax launches her Fairey Seafox spotter plane |
 |
| Not a good start for the Panzerschiffe. |
Turn 2
Graf Spee turns away to port. All ships are now out of range.

 |
| Ajax's Seafox getting some attention from the Graf Spee's AA batteries |
Turns 3-4
Exeter is out of range but Graf Spee exchanges fire with Ajax.

Aided by her spotter plane, Ajax lands a "special" hit on Graf Spee, but her 6" guns don't penetrate and so there's no effect. Graf Spee gets the fire out at the end of turn 4.
Turns 5-6
Graf Spee hits Ajax at 'long' range (10-15") causing light damage.
 |
| Yes, that's long range. |
 |
| Ajax taking fire. |

Turn 7
Ajax's Seafox is destroyed by AA fire. Graf Spee gets a light damage result on Ajax. As Ajax is already at 'light damage' status and the shell is capable of penetrating, the damage level escalates to 'heavy damage'. Heavy damage means some significant downgrading of her stats and 2" off her speed, but there is a chance (11+ on 2d6) each turn of repairing and returning to 'light damage'.

 |
| Ajax is hit again. |
Turns 8-12
Graf Spee turns west and the British follow on parallel courses, with Ajax falling back behind Achilles. Exeter is still out of range, and it becomes apparent that there's a bit of a problem with speeds. According to the stats given in the rules, all these ships have a speed of 6". It's not clear what calculation is used for speed but the campaign rules say that 6" is equivalent to 23-30 kts. This is odd, since the British cruisers should be about 32 kts and the Graf Spee 28.5 kts. In short, the British should be gaining on the Graf Spee but as long as she holds her course and speed, Exeter will never come into range. It's obviously a rounding error of sorts and in search of a quick fix I decided to reduce Graf Spee's speed to 5" for the remainder of the scenario.

Gunfire is mostly ineffective but Achilles does manage to land a lucky hit on Graf Spee's secondary armament.

Turns 13-15
As Exeter comes into range she's hit and suffers light damage.
Turns 16-17
Exeter is scoring hits but they fail to cause significant damage. She is hit again by Graf Spee: the result is 'light damage' which since Exeter already has light damage and as the hit is penetrating, it becomes heavy damage.
Ajax makes a successful repair roll and is back in the fight. Achilles gets a lucky hit on Graf Spee reducing her Defence Factor.

Turns 18-21
Graf Spee switches her fire from Exeter to Achilles which is closing in and will soon be in torpedo range. Achilles is hit twice in succession and suffers heavy damage.

Turn 22 The End?
With 2 of their ships heavily damaged and their speed reduced the British break off the attack. This would be the sensible point to call an end to the game. The result seems remarkably close to history - Langsdorff has driven off Harwood's force, but has suffered enough damage that he will be unable to resume raiding operations and will now be legging it for Montevideo. It's been more than 20 turns, about 2 hours, and the British will be low on ammunition.

So yeah, the end. I'll just finish the turn by making the repair rolls... and Exeter repairs and is back in the game.
Just for shits and giggles then, let's see how this plays out. I'm interested to see how the damage system works and what it takes to sink a ship.
Turn 23
Exeter hits Graf Spee with a 7:2 result - this would be heavy damage, but as 8" guns can't penetrate Graf Spee's armour at this range it should be light damage (i.e. no effect as the ship is already at light damage). I realise looking at my notes that I screwed up here and forgot the penetration thing, so Graf Spee gets a heavy damage marker. Just so you know - I think this had a major effect on the outcome, as Graf's Spee's loss of speed allowed Ajax to catch up and fire her torpedoes. I suspect without this mistake that the Graf Spee might have got away. Oops.
Ajax resumes her place ahead of Achilles and scores a special hit on Graf Spee, knocking out more of her secondary armament.
 |
Turns 24-27
Langsdorff turns away and makes smoke.


 |
| Ajax goes about and, with double-shotted long guns and carronades loaded with grape, rakes the Graf Spee with a shattering broadside, bringing down her mizzen. What? |

Conclusion and Initial Thoughts
I'll leave a proper review till later when I've played some more, but some first impressions:A much longer game than I'd anticipated, probably because the engagement was mostly at extreme range. I was pleasantly surprised by this, as I'd been a bit concerned that these rules might deliver a more all-or-nothing bang-you're-dead sort of result. In fact, the damage system seems to give a wide range of quite subtle results. The mechanisms for converting levels of damage to higher levels is clever, and combined with the simple but effective penetration rules and the 'repair' (i.e. damage control) rules, make for surprisingly believable results for such a low-complexity game.
Next, I'm planning to set up a nice big fleet action with my 1/6000 US & Japanese, with about 6-10 capital ships a side and supporting cruisers & DDs. I think the ground scale will work much better with 1/6000, and I'm interested to see how fast it plays with more ships involved. After that, I intend to try out the air rules with a strike on a carrier force, but I have some rules questions I need to clear up with Admiral Manley first.
All in all, a very promising set of rules. Being a wargamer I've already got ahead of myself with a bunch of crazy pipe dream ideas for these. The first one should be straightforward - to make stats for the ships and aircraft for my War Plan Orange 1930's fleets. The second would be a little more involved - to convert the rules to the Pre-Dreadnought era. I reckon that with some modification this system would be brilliant for 1880-1905. David, if you happen to be reading this, yes that was a hint.
That was a really excellent play through and well worth reading right to the end. I have FFS (tee hee) bit have yet to give it a try out, so will now definitely set up a scenario, probably the Bismarck / Prinz Eugen vs Hood / PoW, to give them a spin. Incidentally, I really like your flak bursts - very effective.
ReplyDeleteDefinitely worth trying Jim, I reckon they'll be right up your alley. Very quick and easy to get into.
DeleteYes, great report, thanks - and nice models. Speaking of pre-dreadnought, I take it Mr Manley's RJW/Span Am War set doesn't do it for you? I think it may be a bit more "bang, you're dead" than FFS (it's stuck now).
ReplyDeleteYeah i have those, but the ship stats are a lot more generic, and I find the action point system a little bit gamey. FFS, like Dahlgren & Columbiad, are a bit more detailed. To be honest though, i haven't actually ever tried B&S, so perhaps i should get over myself and give them a try!
DeleteBroadside and Salvo, I think? ("BS"!)
ReplyDelete