Showing posts with label victorian. Show all posts

Sunday, 14 June 2020

Coastal Terrain


Making Good Use of the Things That We Find


The missus ordered a flat pack cabinet thingy recently and it came with so much polystyrene packaging that I felt compelled to try and make use of some of it. These modular terrain pieces were a bit of a learning experience and are not what you'd call durable, but given that they only a took a weekend to make, including drying time, and cost virtually nothing, I don't much care if they fall to bits in a few months time.

Doing these spurred me on to finish up some of the Brigade Models buildings that I've had sitting around for a while. They're about 1/1000 scale but mostly seem to look fine when placed against 1/2400 ships.

All the sections laid out.
A Spanish squadron of galleys and galleons raids the English coast.
The Henry Grace a Dieu leading a small English squardon with St Mawes castle in the background.
Tudor village.
Southsea Castle. Yes, it is facing the wrong way. Oops.
17th/18th century star fort.
Busy shipping lanes! Late 19th Century merchant ships.
An 1870s large merchant steamer near rocky shoals. The lighthouse is by Figurehead and is true 1/2400.
19th Century (specifically ACW) gun batteries in earthworks on a headland. The batteries are Tumbling Dice 1/2400. I did these ages ago and based them on 2mm MDF, so they look a bit clunky. I may get some more at some point and base them on plastic card so they sit better.
At a pinch, if you squint a bit, the island pieces work ok as Pacific islands in 1/6000.
Sir Monty Drake, on seeing the Spanish fleet approaching, decides there is plenty of time to finish his game of bowls. And maybe have a bit of a nap.

Thursday, 13 December 2018

Brest Breakout - Part 5


 To the Bitter End

The British scramble to turn their disorganised formation northwards:
Devastation takes a pasting:
 The lead ships of the French line, the Vauban and Ocean, come under heavy fire...
 ... and it soon becomes apparent that Désespéré's situation is hopeless.
 He orders the Courbet and Colbert to turn south at flank speed, and sends his other remaining ships back to port. Without the rest of his ships slowing him down, he'll be able to make 15 knots. Well, you have to look on the bright side.


Colbert and Dreadnought pass each other on opposite courses at point blank range. Dreadnought's guns miss, and is heavily damaged by the Colbert's broadside, suffering flooding from a waterline hit:
... while to the north Inflexible takes a pounding and Ocean is reduced to a wreck:
Alexandra and Conqueror concentrate fire on the Courbet and after several turns she is beaten into a twisted iron hulk. The crew abandon ship, but Désespéré refuses to leave and goes down with his ship.

The GT map toward the end, showing tracks of the French ships that have left the table and are heading back to Brest:
The Colbert is damaged and outnumbered but in a last desperate act of defiance her captain rams the already damaged Dreadnought causing heavy flooding.
The Ajax, low on ammo and short on options, rams the stationary Colbert, sinking her.
Remarkably, the Dreadnought's damage control parties work miracles and the ship is saved, managing to limp away with decks awash.

Conclusion

This was always going to go badly for poor old Admiral Désespéré. After 90 minutes the French have lost three major warships and nearly all their light forces, but they gave a good account of themselves. All of the British ships have taken serious damage and will be out of action for months, and the Dreadnought may have to be scrapped. So strategically it's not as rosy as it might seem for the RN, who will now have to find warships from elsewhere to keep the remaining French bottled up in Brest.

Admiral Spiffington returns to a hero's welcome from the press, but quietly the Admiralty are highly miffed at his failure to bring about a more decisive result, and with the state of the ships under his command.

In France tales of Admiral Désespéré's heroic dash for freedom stoke the fires of nationalistic fervour, and Jules Massenet composes a little-known opera, entitled La Charge des Torpilleurs!


Brest Breakout 1886 - Part 4

La Charge des Torpilleurs

Following our little interlude, here's the situation at the end of the turn: 
As Spiffington's squadron maneouvres to cut off Désespéré's southwesterly escape route, the French torpedo boats surge gallantly ahead, trying to position themselves for a torpedo attack. In the centre, the gunboats duke it out in a brutal exchange of quick-firers. Meanwhile the Tonnerre and Cerbère exchange pot shots with the Ajax and Inflexible.

It's time for another scroll, this time to the south, so our original Grand Tactical map will have to be binned, and I draw up a new one on A3 graph paper. Much better.
Here's the table after the scroll:
And as the action is clearly moving southwards we make another scroll from here:
...to here:
The torpedo boats are getting dangerously close, so Admiral Spiffington orders his ships to turn away and gain some sea room. The bridge crew hear him muttering "More bloody scrolling...":
They reform in a single line ahead:

The torpedo boats turn in and begin their desperate charge:
They get badly chewed up on the way in:

While Spiffington is occupied by the TB attack, the Shah finds herself isolated and comes under heavy fire:
Only two of the eight original TBs manage to launch their torpedoes. Alexandra and Inflexible take evasive action. The torpedoes fail to reach their targets, but the British line is thrown into confusion:

Désespéré siezes his chance, turning his line 90 degrees to starboard. He hopes he will be able to bring his squadron to bear against an isolated section of the British line, and give them enough of a bloody nose that they'll back off:


The main action commences in Part 5.

Brest Breakout 1886 - Part 3

Saving & Reloading a Game

We've all been there. You get all hyped up about playing a game at your local club or at home, but people turn up late and/or spend most of the session chatting. You get about 2 or 3 turns into the game and, just as things are starting to get interesting you have to pack up, and although it was nice to have a bit of a chat, you leave with the feeling it was all a bit of a waste of time and effort. Even without other players involved, you may be forced to clear off the dining room table by totally unreasonable members of your household demanding they be allowed to do something utterly trivial like eat dinner.

Luckily these days almost everyone has a fairly decent high res camera that they carry around with them at all times. So the answer is simply to mark out the table with a grid of dice, and then photograph it. As well as the main wide shot covering the whole table, make sure you take plenty of zoomed-in detail shots, especially where you have markers etc, and it's a good idea to take some notes as well. What seems obvious right now will probably not be in two weeks time, so if doubt write it down.

I've never actually tried this before and was surprised at how easy it was. It took less than 10 minutes to record the game, and no more than 15 to recall it. Here's the table with the 30cm dice grid before breaking it down:
And here it is recalled several days later:
It's not 100% perfect, but close enough. As with scrolling, it's best to do this at the end or beginning of a turn, so that any inaccuracies will be ironed out in the movement phase. In other words, don't do this in the middle of a turn after movement and before gunnery.

I'm sure this can't be a totally original idea, but personally I'd never thought of trying it before, and I've never come across anyone else doing it, so just thought I'd mention it.

Onwards with the battle in Part 4.

Wednesday, 12 December 2018

Brest Breakout 1886 - Part 2


Opening Moves


The French plot has them moving out and and to the south. The Shah and the 2 gunboats are placed inshore, while the main British squadron is in patrol mode to the southwest. As soon as the French round the headland they're spotted by the British and all squadrons are Active. The Shah and gunboats will share the table with the lead French ships. We need to generate 2 things now: the Grand Tactical Map and the tabletop coastline.

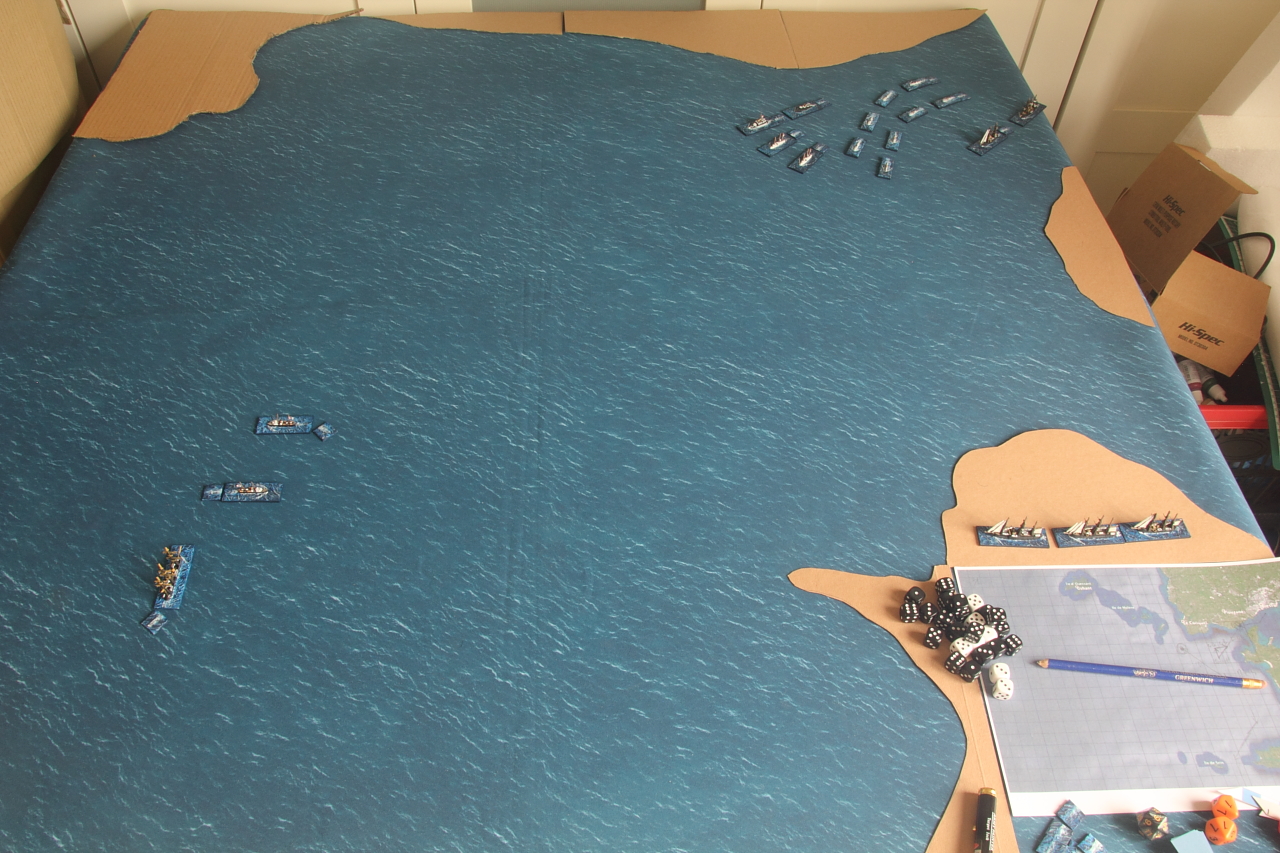
Here's my first attempt at the GT map. It's way too small, because I was too lazy to go and find my pad of A3 graph paper, and tried to do it on a notebook I had handy instead. The big X on the left is the position of Spiffington's main squadron, off-table. The map is scaled at 1mm on map = 1 cm on table. Later, when I have to scroll southwards, I'm going to have to replace this map with a bigger one.


For the coastline I went for the most lazy cheap-arse option I could think of, not just because I'm a lazy cheap-arse, but also because this stuff needs to be made to order in minutes. So I just used old bits of cardboard in 30 cm sections, cut with scissors to match the terrain in each square. Amazon envelopes are ideal for this, but any old cardboard will do. It's not beautiful, but it is very functional and quick. Our focus is on the more watery aspects of the table. You could of course use felt, or if you have a box of lovely coastline terrain then just do your best to approximate the actual lay of the land.

The British scouting force spots the French emerging from Le Goulet
The coastal forces move ahead to screen Admiral Désespéré's squadron. Note only the first two ships of the main squadron are on the table. The rest of his squadron are off table on the GT map:

As the French move forward, the British scouting force turns to the west to fall back on the main force...

 ... and as they reach the western edge of the table it's time for a scroll.
To do this, all the ships and terrain move 30cm east. Any terrain pieces that fall off the eastern end are put to one side, and new pieces are cut and placed on the western edge. Any ships that fall off the eastern edge have their positions marked on the GT map. This should always be done before movement, so that any inaccuracies become fairly irrelevant after the movement phase. Here's the position after the scroll and before movement:
Here's the updated GT map:
And this shows the area that the table is now covering on the Op Map:

Spiffington's main force starts to arrive from the west and the French torpedo boats begin a desperate attempt to disrupt them and buy time for Désespéré's force to slip by:


At this point I had to break the game down because I needed the space for something else. I didn't feel like I was anywhere near done with it, in fact it felt like things were just starting to develop, so I decided to try and record the game state and reinstate it a later date. I'll describe how I did that in Part 3.